You’re an Etsy seller (or want to be one) and you want to streamline your print on demand business?
Connecting Printify to Etsy is the ultimate hack. Why?
Because it eliminates the manual work – printing, packaging and shipping – and lets you focus on what you do best: designing and growing your shop.
I’ve been in ecommerce and print on demand for over 10 years and I’ve seen firsthand how integrations like this can transform a business.
Let me walk you through everything you need to know, in detail, so you can set up your shop right, avoid the mistakes and start selling.
Why Connect Printify to Etsy?
So why is connecting Printify to Etsy worth it?
Let me break it down for you. Running an Etsy shop can be a time suck, especially if you’re doing production and shipping yourself. That’s where Printify comes in.
With Printify you’re outsourcing everything production, shipping and inventory management.
When someone orders on Etsy, Printify processes the order, sends it to the print provider and ships the product to your customer.
You don’t touch the product – it’s completely hands off.
Here’s why that’s a big deal:
- No Inventory. No more buying stock upfront or renting storage space. You only pay for the product when a customer orders it.
- Time Saver. Fulfillment is automated. Instead of spending hours packing and shipping you can design, market or scale your shop.
- Scale Faster. Want to launch 50 new products tomorrow? Easy. With Printify you’re not limited by production capacity.
- Professional Fulfillment. Printify works with a network of print providers worldwide so your products are professionally made and shipped to your customers.
If you want to build a profitable Etsy business without the hassle of managing stock Printify is the way to go.
Step by Step: How to Connect Printify to Etsy
Step 1: Set up Your Etsy Shop
Before you can connect Printify to Etsy you need to have an Etsy shop.
If you already have one you’re good to go. If not here’s how to set it up:
- Go to Etsy’s Website: Go to etsy.com and log in or create an account if you don’t already have one.
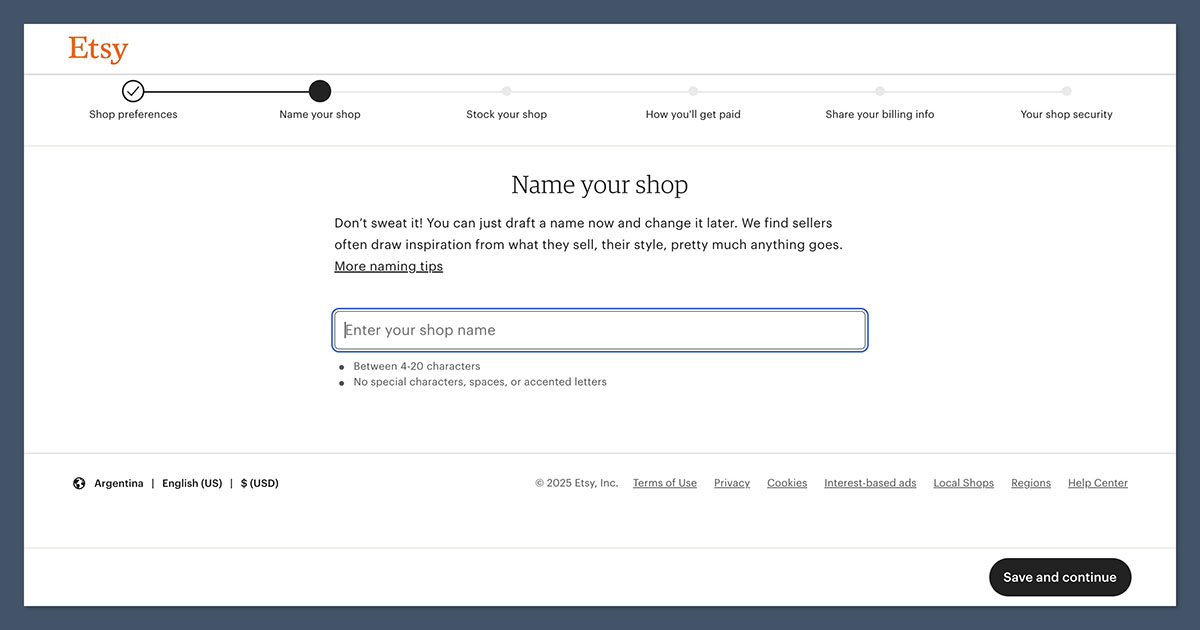
- Open Your Shop: Once logged in click on “Sell on Etsy” or go directly to the shop creation page.
- Name Your Shop: Choose a unique name that represents your brand. Make it memorable and relevant to what you’re selling (e.g. “The Cozy Mug Co.”).
- Set Your Preferences: During the setup you’ll select your shop’s language, country and currency. These can’t be changed later so choose carefully.
- Add Payment Info: Etsy requires you to set up payment and billing information. This allows you to receive payments from customers and pay Etsy’s seller fees.
If you haven’t set up your shop fully (like adding product listings or customizing your branding) don’t worry. You can connect Printify and finish setting up later.
Step 2: Sign Up or Log In to Printify
Now that your Etsy shop is set up it’s time to set up Printify. If you don’t already have an account here’s how to get started:
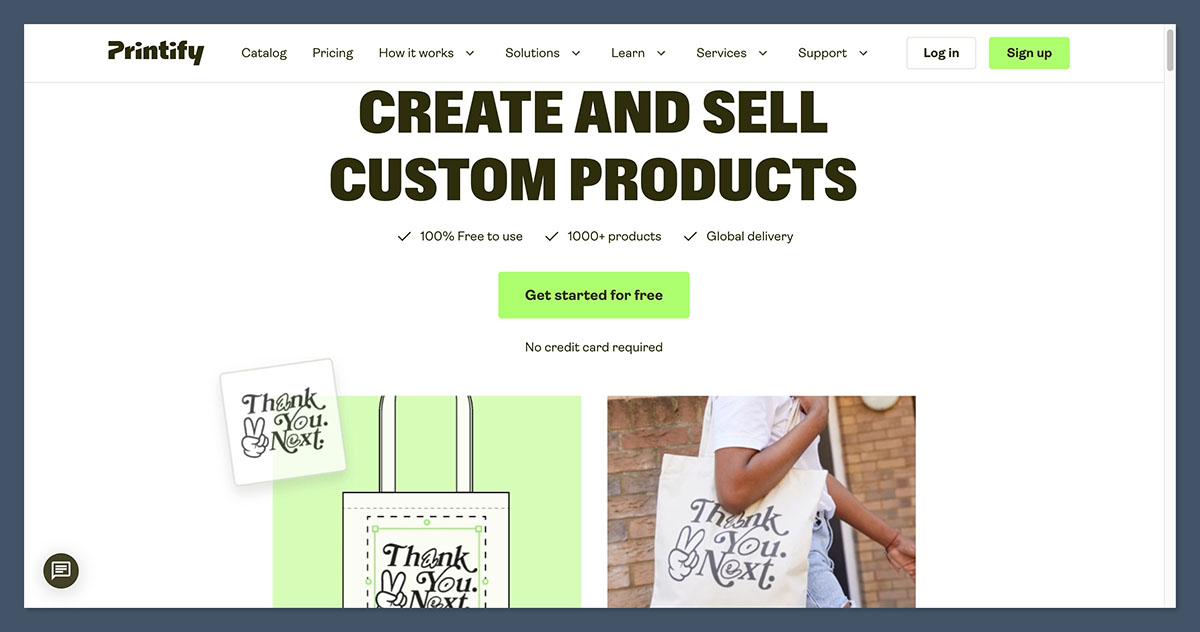
- Go to Printify: Go to printify.com and click “Sign Up” in the top right corner.
- Create Your Account: Sign up with your email, Google account or Facebook. It’s quick and takes a minute.
- Log In to Your Dashboard: Once you’re signed in you’ll land on your Printify dashboard. This is where you’ll manage your products, orders and integrations.
Printify has a free plan that’s perfect for beginners.
But if you plan to scale your shop fast consider upgrading to Printify Premium. It’s $29/month and gives you up to 20% off product costs which can increase your profit margins big time.
Step 3: Connect Printify to Etsy
Now we can start connecting the two. The integration is easy and takes a few minutes:
- Go to Manage Stores: From your Printify dashboard click on “Manage Stores” in the left hand menu. This is where you’ll add your Etsy shop.
- Add a New Store: Click the green “Add New Store” button at the top of the page.
- Choose Etsy: From the list of platforms (Shopify, Wix, WooCommerce etc.) choose Etsy.
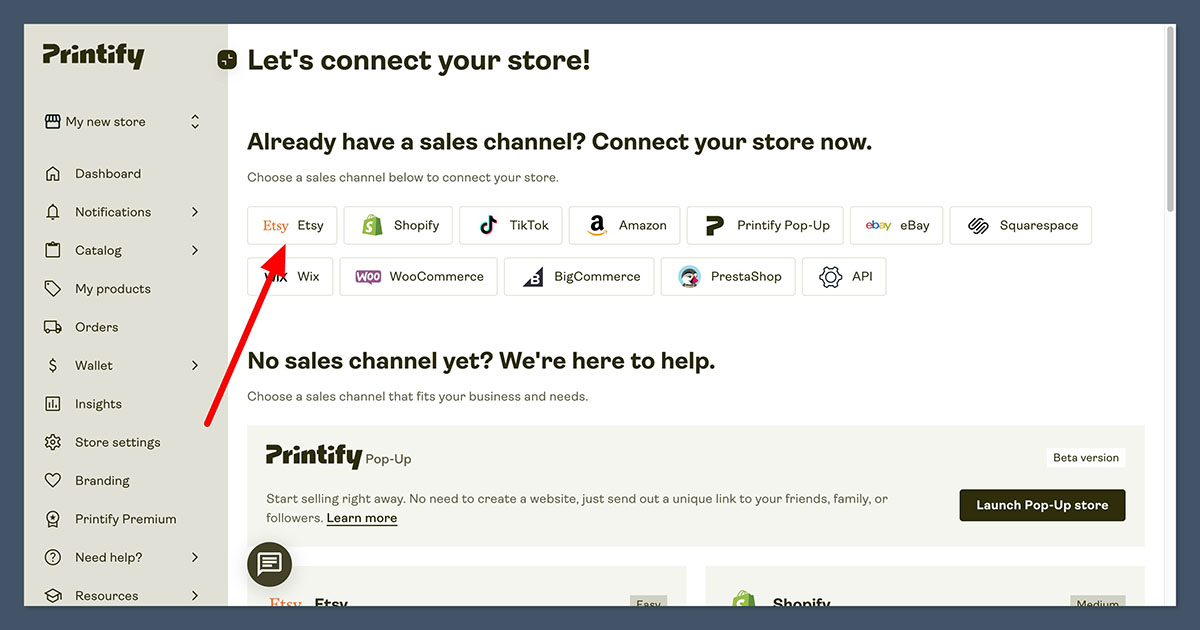
- Log In to Etsy: If you’re not already logged in Printify will ask you to log in to your Etsy account.
- Authorize the Integration: Etsy will ask you to allow Printify to create and manage listings on your behalf. Approve the request.
Once you’ve done that Printify and Etsy are connected. Now you can create products in Printify and publish them to your Etsy store.
Step 4: Create Your First Product
Now the fun part—creating your first product! This is where you get to be creative.
- Open the Product Catalog: In your Printify dashboard click “Catalog” to browse their products. Printify has hundreds of options including T-shirts, hoodies, mugs, tote bags and phone cases.
- Choose a Product: Select a product that fits your brand and target audience. For example if you’re targeting coffee lovers start with a mug.
- Upload Your Design:
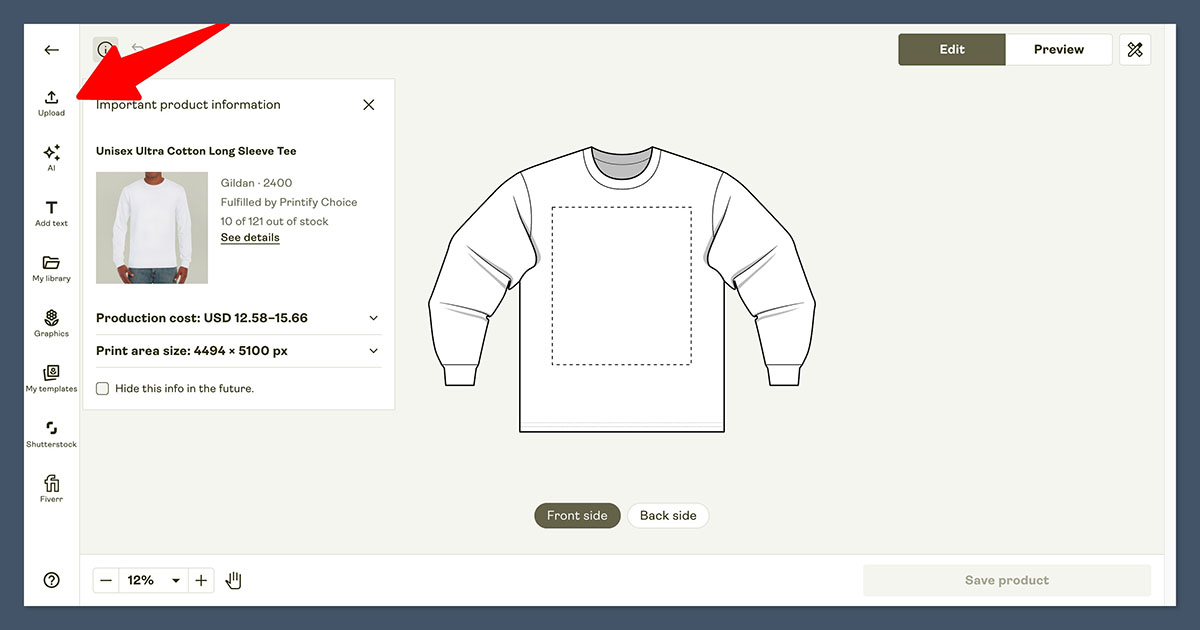
- Use Printify’s mockup generator to upload your artwork.
- Adjust the placement, resize the design and choose color variations.
- Make sure the design looks good on all available sizes and colors.
- Preview the Product: Printify allows you to preview a mockup of the finished product. Check how it will look in real life. If it doesn’t look right tweak the design until it’s perfect.
Step 5: Publish to Etsy
Now your product is ready to be listed on Etsy. Here’s how to do it step by step:
- Publish to Store: In Printify click “Publish to Store” after you’ve finalised your product.
- Optimize the Listing:
- Title: Use a keyword rich title that describes your product clearly. For example “Personalized Coffee Mug for Dog Lovers – Custom Gift Idea.”
- Description: Write a detailed description that explains the product’s features, benefits and materials. Include keywords for Etsy’s SEO.
- Tags: Add tags to help customers find your listing. Think of what your target audience would search for.
- Set Pricing: Adjust the price to cover Printify’s production cost, Etsy fees and your profit margin. For example if the base cost is $10 and you want to earn $15 price it at $25.
After publishing your product will be in your Etsy shop and ready to be bought.
Step 6: Pricing and Shipping
Make sure your pricing and shipping is set up correctly so you don’t get any surprises later.
- Profit Margins: Printify shows you the base cost for each product. Use this as a starting point to set your prices. Don’t forget to factor in Etsy’s transaction fees (6.5% of the total sale price) and listing fees ($0.20 per item).
- Shipping Profiles: Sync your Etsy shipping settings with Printify’s fulfillment options. For example if your print provider charges $4 for shipping make sure your Etsy listing reflects that.
Conclusion
Connecting Printify to Etsy is the key to simplifying your business and scaling.
With Printify handling production and shipping you can focus on creating products, marketing your shop and building your brand.