Selling stickers on Shopify is one of the lowest-risk ecommerce businesses you can start today: launch costs run under $100 with print-on-demand, healthy margins sit between 45% and 62%, and top sellers earn anywhere from $200 a month as a side hustle to over $11,000 a month at scale.
The global sticker market is worth nearly $5 billion and growing at almost 6% per year, and stickers rank among the top 10 most searched products on Etsy. Yet the real opportunity is not on marketplaces. It is on your own Shopify store, where you keep full margins, own the customer relationship, and build an actual brand.
Quick Answer: You can launch a profitable sticker business on Shopify in 7 steps: pick a narrow niche, create 5 to 10 designs, connect a POD provider (Printify for the lowest costs, Printful for consistent quality), build your store in an afternoon, price singles and bundles for 45 to 62% margins, drive traffic with SEO and social, then scale with seasonal launches and additional channels. Total startup cost: under $100.
Most guides tell you to “upload designs and sell,” then stop there. They skip the Shopify-specific setup, dodge real cost breakdowns, and ignore the math behind turning $1.21 stickers into consistent profit.
This guide covers all seven steps from niche selection to scaling, with real numbers for costs, margins, and revenue at every stage. Shopify hosts over 62% of all print-on-demand stores, and by the end, you will have a clear blueprint for launching and growing a sticker business on the platform.
Step 1: Pick Your Niche and Validate Demand
The biggest mistake new sticker sellers make is designing for everyone. They create a grab bag of random quotes, generic florals, and trending memes, then wonder why sales never materialize. The sticker market is crowded on Etsy and broad POD marketplaces. Differentiation comes from serving a specific audience deeply, not broadly.
Consider AcornandCrowStudio on Etsy. They racked up over 529,000 sales with just 166 products. That is not catalog breadth. That is niche depth combined with ferocious repeat-purchase behavior.
Proven profitable niches for selling stickers on Shopify include:
- Mental health and ADHD awareness (Big Moods generates $11K/month in this space)
- Anime and pop culture fandoms
- Planner and journaling communities
- Pet breeds (specific breeds outperform generic “dog lover” designs)
- Fitness and sports motivation
- Humor and sarcasm (evergreen demand)
Before designing anything, validate demand. Search your niche keyword on Etsy and note how many results appear, what the top sellers charge, and how many reviews they have accumulated. Check Google Trends to confirm the 12-month trend line is stable or rising. Browse Reddit and Facebook groups in your niche to see what designs people actually request.
Start narrow. Not “travel stickers” but “solo backpacking stickers.” Not “cat stickers” but “orange tabby stickers.” You can always expand later. Narrowing down first gives you a clear audience and a lane with less competition.
Look at pricing in your niche too. If top sellers charge $4 to $6 per sticker and maintain steady sales volume, the market supports profitable margins. If everything sells for $1.99, competing on price will grind your profits to dust.
Milestone: You should now have a specific niche chosen and evidence that people are already buying stickers in that space.
Step 2: Create Sticker Designs That Sell
You can create your first sellable sticker design in under an hour, even with zero design experience. The tool you use depends on your skill level.
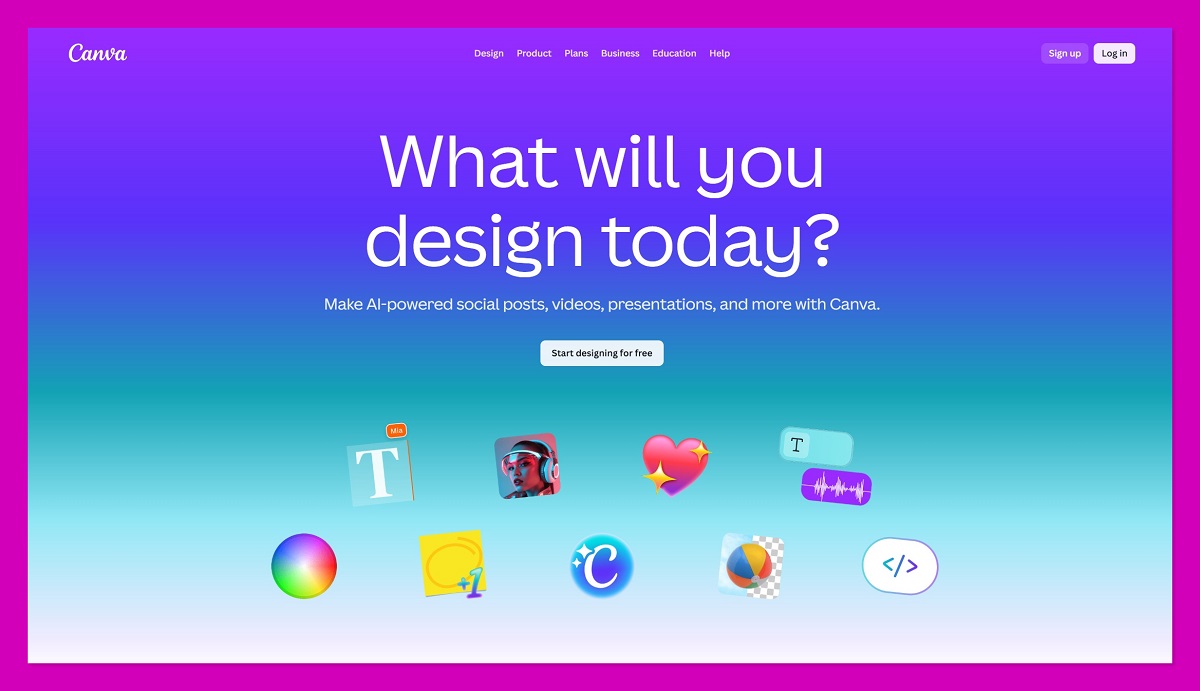
Canva works best for beginners. It offers free sticker templates, drag-and-drop editing, and PNG export with transparent backgrounds.
Procreate (iPad only) suits illustrators who want hand-drawn aesthetics. Adobe Illustrator gives you vector precision for complex die-cut shapes and scalable artwork. If design is not your strength at all, hire a freelancer on Fiverr for $5 to $25 per design, or use AI-assisted tools to generate starting concepts you can refine.
Every POD provider requires the same file specs regardless of your tool. Export as PNG with a transparent background at 300 DPI minimum. Use CMYK color profile for accurate print colors. Include 0.125-inch bleed on all sides and keep critical elements inside a 0.125-inch safe zone from the cut line.
Always export at the final sticker size or larger. The most common beginner mistakes are uploading in RGB instead of CMYK (which causes color shifts) and skipping the bleed (which causes artwork clipping at the edges). Get these specs right once and every future design follows the same template.
Choosing the right sticker format matters for revenue. Die-cut stickers outsell kiss-cut singles 3:1 for standalone purchases. They look premium, peel cleanly, and work well on laptops and water bottles.
Kiss-cut sheets, however, show a 22% higher reorder rate and generate 12% higher average order value when sold in bundles. Design for both formats from the start. Use die-cut for individual hero products and kiss-cut sheets for packs.
Milestone: You should now have 5 to 10 print-ready designs in PNG format at 300 DPI with transparent backgrounds.
Step 3: Choose Your Fulfillment Method
The cheapest print-on-demand option is not always the most profitable one. This is where the math matters more than the marketing.
You have two paths when selling stickers on Shopify. Print-on-demand (POD) requires zero upfront investment. A provider prints and ships each order automatically after a customer buys.
Self-printing requires $500 to $2,000 in equipment (a quality vinyl printer, cutting machine, and materials) but gives you higher per-unit margins at volume. For beginners, POD is the right starting point. You can always bring production in-house later once you have proven demand.
Here is how the top Shopify-compatible POD providers compare for stickers:
| Provider | 3×3″ Base Cost | Monthly Fee | Shopify Rating | Key Strength | Key Weakness |
|---|---|---|---|---|---|
| Printify | From $1.21 (as low as $1.02 with Premium) | Free (Premium $39/mo, or $24.99/mo billed annually) | 4.7/5 (2,900+ reviews) | Lowest sticker prices, 90+ providers | Quality varies by provider |
| Printful | From $2.75 | Free | 4.8/5 (3,000+ reviews) | Owns facilities, consistent quality | Higher base costs |
| Gelato | Varies by region | Free (paid Gelato+ tier available) | High | 140 facilities in 32 countries, eco-focused | Fewer product options |
| Gooten | Competitive | Free | Moderate | 500+ products, fast US delivery (1-3 days) | Email-only support, no free samples |
Printify offers sticker production in 3-5 business days, since stickers are single-print items with no assembly. Gelato’s local production across 32 countries reduces shipping times for international orders. For UK and EU sellers, Prodigi (accessible through Printify) starts at GBP 0.80 for a 3×4 inch sticker with 18-month outdoor durability.
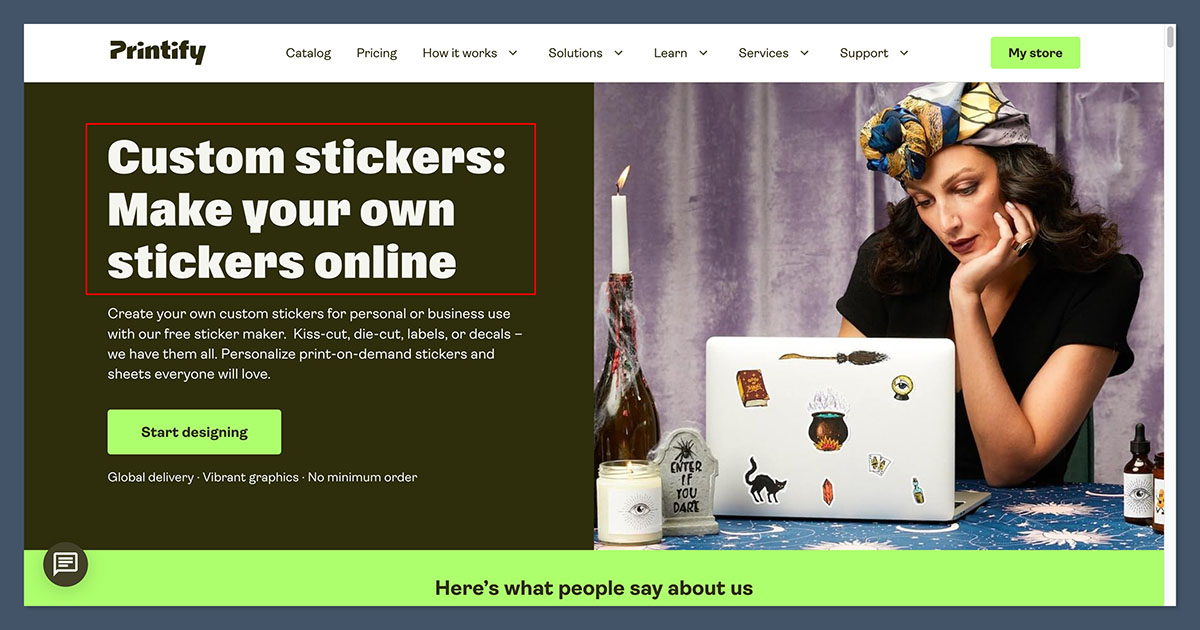
Quality inconsistency is the number-one complaint with marketplace-model providers like Printify. Because Printify routes orders to third-party print shops, the sticker you receive from Print Geek may look different from one printed by Spoke Custom.
Printful sidesteps this problem by owning its production facilities. You pay more per unit (from $2.75 vs. from $1.21 for a 3×3 inch sticker), but quality stays consistent.
Whichever provider you choose, order samples before listing anything for sale. Stick them on a water bottle, a laptop, and a notebook. Test adhesion, color accuracy, and waterproofing after a week of daily use. Your customers will do the same, and a bad first impression kills repeat purchases.
Milestone: You should now have a POD provider selected and sample stickers ordered to verify quality before listing anything for sale.
Step 4: Set Up Your Shopify Store
You can have a fully functional sticker store live within a single afternoon. Here is the setup process for selling stickers on Shopify, broken into the steps that actually matter.
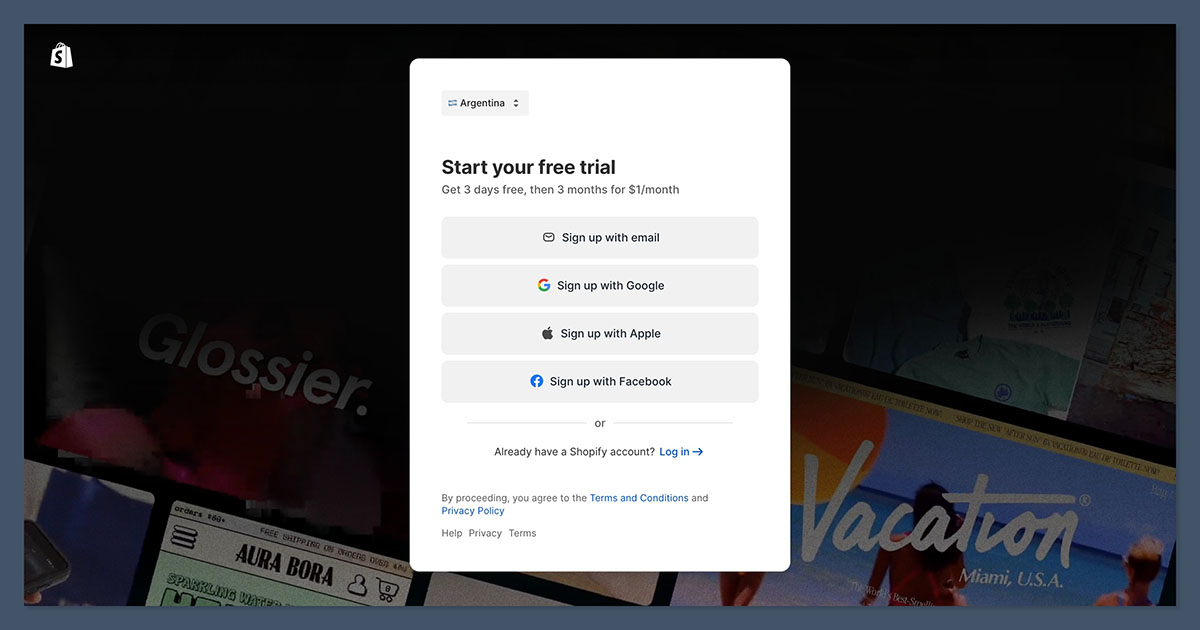
Start your account. Go to shopify.com and begin the 3-day free trial. No credit card required. After the trial, the Basic plan runs $39 per month, or $29 per month if you pay annually. Pick a store name that reflects your niche rather than something generic. You can also use Shopify’s AI Store Builder to speed up the initial setup.
Choose and customize your theme. Browse Shopify’s theme store and select Dawn, the free OS 2.0 theme that works well for product-focused stores. Customize your logo, brand colors, and typography through Online Store > Themes > Customize. Keep the layout clean. Stickers are visual products, so let the imagery sell the product.
Configure payments, domain, and shipping. Go to Settings > Payments and activate Shopify Payments. This eliminates extra transaction fees (you will only pay the standard 2.9% + $0.30 per sale). Connect a custom domain under Settings > Domains, or use the free .myshopify.com subdomain to start. Under Settings > Shipping and Delivery, create a custom shipping profile for stickers. They ship flat and light, so your rates should reflect that.
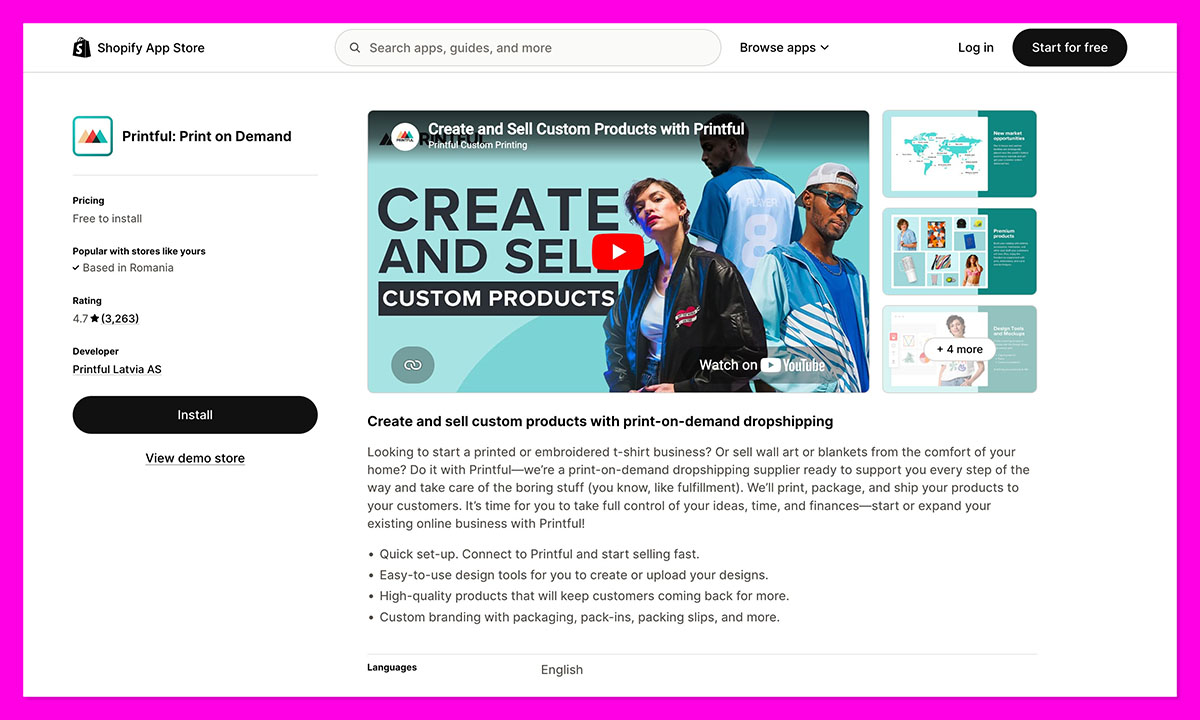
Connect your POD app. Install Printify or Printful from the Shopify App Store. Link your account, browse the sticker catalog, upload your designs, and use the built-in mockup generator to create product images. Set your retail price (more on pricing in Step 5), then publish products to your store.
Build essential pages and collections. Create About, Contact, and FAQ pages through Online Store > Pages. Set up collection pages organized by theme or niche. Edit the URL slug for each collection to include your target keyword. These collections serve double duty: they improve navigation for shoppers and act as SEO landing pages for search traffic. A “Mental Health Stickers” collection page can rank for that exact search term.
Test and launch. Place a test order to verify the entire flow works, from checkout to POD fulfillment to shipping notification. Once everything checks out, go to Settings and remove the store password to go live.
Milestone: You should now have a live Shopify store with your POD app connected, at least 5 products listed, and a successful test order completed.
Step 5: Price Your Stickers for Real Profit
A $6 sticker can yield $3.72 in profit. But most new sellers unknowingly price below breakeven because they forget to factor in every cost layer. Here is how sticker pricing actually works.
Walk through a real example. Your POD base cost for a 3×3 inch kiss-cut sticker on Printify is $1.80 (factoring in a mid-range provider). The Shopify payment processing fee on a $5.99 sale is $0.47 (2.9% + $0.30).
Your total cost per unit: $2.27. Your profit at $5.99 retail: $3.72, or a 62% margin. That is healthy.
Bundles are where sticker businesses get truly profitable. Here is how the math changes at volume:
| Product | Retail Price | Per-Sticker Price | Estimated Margin |
|---|---|---|---|
| Single sticker | $4.99 | $4.99 | ~35% |
| 3-pack | $10.99 | $3.66 | ~45% |
| 5-pack | $14.99 | $2.99 | ~52% |
Bundles increase average order value by 20 to 35%. They also reduce the per-unit impact of fixed costs like payment processing fees.
Use charm pricing on everything. $3.99 converts approximately 24% better than $4.00. Show “per sticker” savings on every bundle listing so customers see the deal clearly.
Mark your most popular bundle option as “Best Value” to nudge buyers toward higher-margin purchases. Display savings messaging (“Save $5 with the 5-pack”) rather than only showing the final price, because shoppers respond more strongly to concrete dollar amounts saved.
One hidden cost to factor in: sample orders. Budget $30 to $50 for testing your own products before launch. This is not wasted spend. It is quality assurance that prevents negative reviews and refund requests down the line.
Here is what these numbers look like at scale. Big Moods pulls in $11,000 per month. Chubble Gum hit $176,000 in a single 30-day period with over 3,000 products. Sticker It reached $2.4 million annually.
These results require volume, consistent marketing, and smart bundling. They are not overnight outcomes, but the math works.
Milestone: You should now have a pricing spreadsheet showing your cost per unit, retail price, and profit margin for singles, 3-packs, and 5-packs.
Step 6: Drive Traffic and Market Your Store
Your Shopify sticker store starts with zero traffic. Unlike Etsy’s 96 million active buyers, nobody will stumble onto your store by accident. Marketing is not optional. It is the entire game.
Write every product page for search and conversions. This is the gap most sticker selling guides skip entirely. Write product titles under 60 characters with your primary keyword first (example: “Mental Health Vinyl Sticker – Waterproof Kiss-Cut”). Add meta descriptions under 160 characters with a clear call to action. Work keywords naturally into the first 100 words of your product description. Add descriptive alt text to every product image. Create collection pages with keyword-rich titles and descriptions. These SEO fundamentals compound over time and bring in free, intent-driven traffic from Google.
Pick your social media channels strategically. TikTok still drives discovery for sticker brands, but the free viral era has ended. Treat TikTok as a paid channel and budget accordingly. Post 1 to 2 times per day showing your design process, packaging routines, and order unboxing. Instagram Shopping lets you tag products directly in posts and link to your Shopify catalog. Pinterest is an underrated powerhouse for craft, stationery, and journaling audiences. It functions more like a search engine than a social network, which means your pins keep driving traffic months after you post them.
Start small with paid advertising. Allocate $20 to $50 per day for Facebook and Instagram ads. Target interests relevant to your niche (planners, specific anime series, fitness lifestyles). The average return on ad spend across ecommerce is 2.87:1, and retargeting campaigns regularly hit 4:1 to 6:1. Give any campaign at least 3 to 7 days or 50 conversions before judging its performance. Kill what does not work, double down on what does.
Partner with nano-influencers. Smaller creators with highly engaged followings (1,000 to 10,000 followers) drive better conversions for niche sticker products than big influencers. The cost is lower (often just a free sticker pack in exchange for an honest review), the trust is higher, and the audience alignment is tighter. Send free sticker packs and let their content do the selling.
Build an email list from day one. Add a pop-up offering 10% off a first order in exchange for an email address. Email marketing costs almost nothing to run and gives you a direct line to past buyers when you launch new designs or seasonal collections. A list of 500 engaged subscribers can outperform thousands of social media followers in actual revenue.
Milestone: You should now have SEO-written product pages, at least one active social media channel, and either an organic posting schedule or a small paid ad test running.
Step 7: Scale With Bundles, Seasonal Launches, and New Channels
The sellers making $10,000 or more per month are not just selling more stickers. They are selling them differently. Scaling a Shopify sticker store means increasing average order value, capturing seasonal demand, and expanding to new sales channels.
Go deep on bundles. Offer singles, 3-packs, 5-packs, and mix-and-match options (“choose any 4”). Install a quantity breaks app like SmartBundle or Kaching Bundle to automate tiered discounts directly on product pages. Add post-purchase upsells that suggest complementary sticker packs after checkout. DogSuppy generated $323,000 in additional revenue just from offering 2-pack, 3-pack, and 4-pack bundles. Include a thank-you card with a discount code in every order to encourage repeat purchases.
Build a seasonal campaign calendar. Seasonal sticker launches boost conversion rates by an average of 20%. Plan campaigns 4 to 6 weeks before each holiday:
- Q1: Valentine’s Day, St. Patrick’s Day
- Q2: Mother’s Day, graduation season
- Q3: Back-to-school (sticker searches spike in August), Independence Day
- Q4: Halloween, Black Friday/Cyber Monday, winter holidays
Q4 alone can drive up to 30% of your annual revenue. Create limited-edition seasonal designs to build urgency. Use Shopify’s automatic discount feature to schedule sale pricing in advance so you are not scrambling the week of Black Friday. Increase your ad spend budget by 2-3x in November and December to capture peak demand.
Expand to additional sales channels. Use Shopify as your central hub, then layer on discovery channels. Add an Etsy store to tap into 96 million active buyers (factor in the 6.5% transaction fee plus $0.20 per listing when pricing).
Connect TikTok Shop through Shopify’s native integration under Settings > Sales Channels. Sync inventory in real time across all platforms with LitCommerce or Nembol to avoid overselling. Track which channel drives the most profitable sales and allocate your budget accordingly.
Know when to upgrade. Printify’s Premium plan ($39 per month, or $24.99 per month billed annually) gives you 20% off all base costs. It pays for itself after roughly 20 to 50 sales per month. When your volume consistently exceeds that, consider bringing production in-house. A $500 to $2,000 self-printing setup delivers higher per-unit margins and full quality control. For a recurring revenue angle, consider subscription sticker packs like Pipsticks, which draws roughly 100,000 monthly visitors on that model.
Milestone: You should now have a bundle strategy live, a seasonal campaign calendar planned for the next 6 months, and at least one additional sales channel connected to your Shopify store.
Frequently Asked Questions
How much does it cost to start selling stickers on Shopify?
With print-on-demand, your only fixed cost is Shopify Basic at $39 per month ($29 per month on annual billing). POD providers like Printify charge nothing upfront; you pay per order only after a customer buys. Total launch cost: under $100.
Should I use Printful or Printify for stickers?
Printify wins on cost (from $1.21 vs. from $2.75 for a 3×3 inch sticker). Printful wins on consistency because it owns its facilities. Prioritizing margins? Choose Printify with a top-rated provider like Print Geek. Prioritizing quality? Choose Printful.
How much profit can I realistically make?
Expect $1.70 to $3.00 net profit per single sticker and $8 to $11 per 5-pack bundle. As a side hustle, $200 to $800 per month is realistic within the first few months. Top sellers like Big Moods earn $11,000 per month.
Do I need design skills to sell stickers?
No. Canva offers free sticker templates you can customize in minutes. Fiverr designers start at $5 per design. AI tools can generate starting concepts that you refine.
Should I sell on Shopify, Etsy, or both?
Both. Shopify gives you full brand control and no per-sale commission fees. Etsy gives you access to 96 million active buyers without spending on ads. Use Shopify as your primary storefront and Etsy as a discovery channel. Sync inventory between them with LitCommerce or Nembol.
Five print-ready designs, a connected POD app, and your Shopify store are all you need. Go back to Step 1, pick your niche, and get your first product listed this week.