Remember how hard it used to be to build an ecommerce brand? I do. You used to spend weeks wrestling with suppliers, figuring out shipping, and begging your web developer to just make your life a tiny bit easier. These days, you can launch a product line in an afternoon with basically no fuss.
Shopify gives you a straightforward platform for building (and scaling) your online presence, with no developer headaches. POD companies do all the work of producing and shipping products for you. It’s a dream come true for anyone with ambition, but very little capital or technical knowledge.
If you’ve been gazing longingly at your sketchbook for months now, imagining what it’d be like to run your POD store, I’m going to run you through the whole process, from setup to scaling. But first, a quick primer on the market you can expect to see.
Print on Demand in 2026 (Competitive, but Packed with Potential)
The only problem with how easy it is to get started with ecommerce these days is that virtually everyone is doing it. There are literally millions of sellers out there in the POD space, so if you think you can launch a random selection of t-shirts and make a fortune in a week, you’re probably going to be disappointed. Still, that doesn’t mean there isn’t potential.
Gelato is a print-on-demand platform with production facilities in 32+ countries, enabling local fulfillment that reduces shipping times and carbon footprint.The great thing about the “Shopify + Gelato” combo (and why I recommend it to so many sellers) is that it gives you an edge straight away.
With Shopify, you’re not listing items on a cluttered marketplace like Etsy and hoping to be seen, you have your own brand, and your own space within the internet, so you can actually build a real community.
Plus, you can sell across multiple channels (including social media), which makes scaling revenue a bit easier. With Gelato, on the other hand, you have products that already stand out. They’re not just high in quality, they’re:
- Sustainable with eco-friendly materials and logistics
- Delivered fast by a global network of providers (largest production network with 140+ production partners across 32 countries)
- Easy to fully automate personalization with the Personalization Studio
That last one matters the most, if you ask me. Personalization means you’re never just selling a generic catalog of products; you’re giving customers the option to make the items they want.
That’s always going to lead to bigger profits, and help distinguish you from all the other POD players. Best of all, Gelato’s personalization is fully automated, customers enter their details at checkout, and the print file generates without any manual intervention on your end.
How to Start Selling with Gelato and Shopify
Okay, let’s get into the “work” part of this guide. Don’t panic too much, all of this is super easy, and you don’t need any developers on speed dial. Just a bit of patience will do.
Step 1: Getting Your Shopify Store Ready
It’s worth doing this before you start looking at products on Gelato, because honestly, it just feels good to have a “storefront” ready and waiting. It doesn’t take a lot of work.
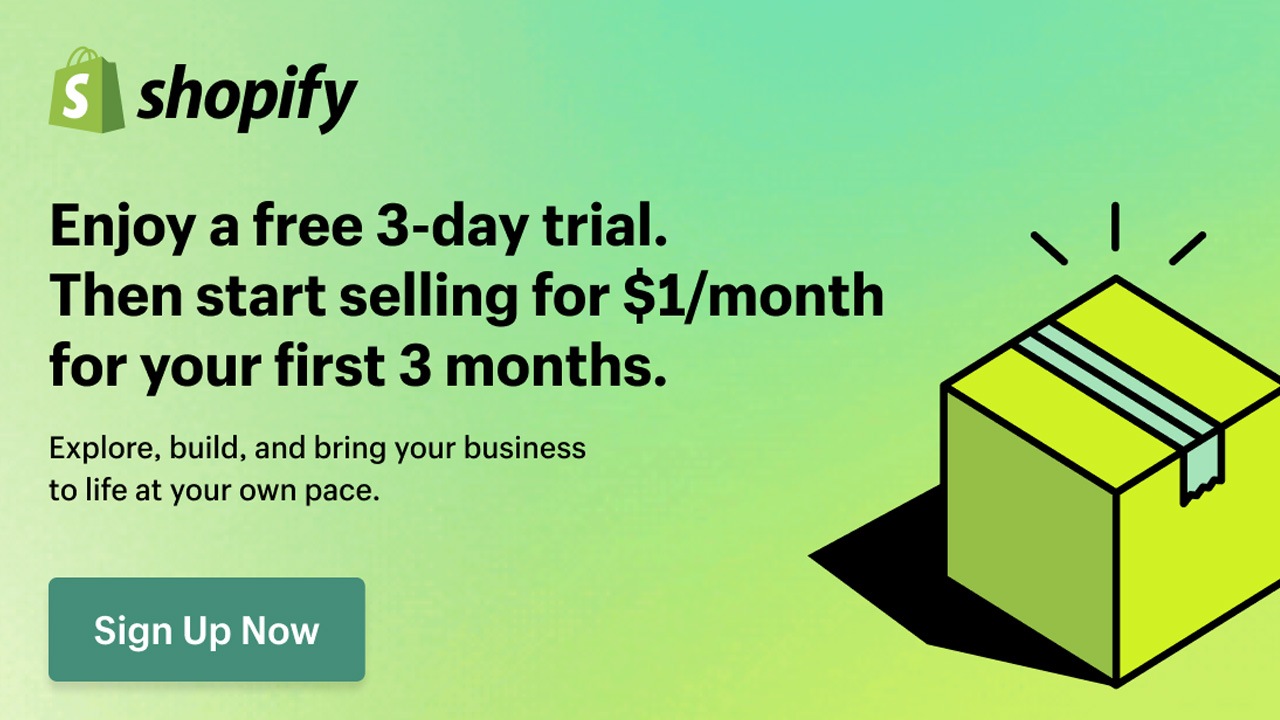
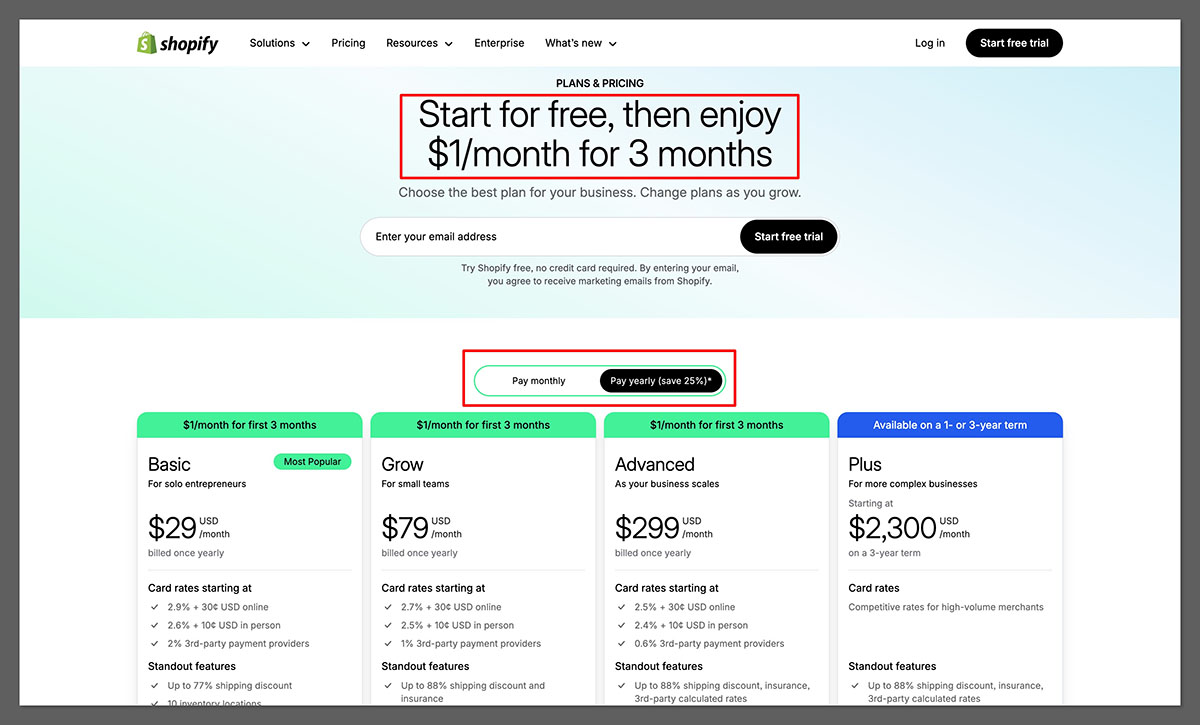
Just head over to Shopify and pick the plan you want. I’d usually say start with Basic if you’re a beginner. It’s the cheapest option you can choose and still get a fully functional online store.
After that, pick your theme, anything clean, fast and predictable will do for now. You can make bigger tweaks later, once you’re settled in. Give your store some identity, by adding your colors and logo, and fill out the basics like the home page and “about us” page.
Once you’re done with that:
- Enable Payments: Turn on Shopify Payments. Done. The fewer moving parts in your checkout, the better.
- Let Shopify handle the admin stuff: Shopify’s built-in tools can spit out draft versions of your shipping policy, privacy policy, and terms. They’re not perfect, but they’re a solid base you can clean up later.
- Do some exploring: Spend a little time jumping around the admin and getting to terms with what you can actually do. You don’t need to be a master, just figure out the basics.
That’s it, your store won’t be a masterpiece straight away, but that’s fine, you have what you need to get started.
Step 2: Creating your Gelato Account
With Shopify ready to go, head to Gelato. Setting your account up here is even faster than getting started with Shopify, but there are still a few small things to iron out:
- Pick your plan: Honestly, you just need the free plan at this stage. It gives you access to the full catalog and all the basics you need. Still keep an eye on Gelato+ though, it’s definitely worth considering when your store starts to grow.
- Check out the catalog: Spend a few minutes checking out the kind of things you can sell, (Art prints are a great option here), and maybe give the design tools a go to see how they work. They’re pretty simple.
- Explore the production and shipping regions: One thing I appreciate about Gelato is how many countries they print in. Shoppers are more confident when they see reasonable delivery times. If a customer in the UK sees a shipping estimate that looks like it’s coming from down the road instead of across the ocean, they’re far more likely to buy.
That’s all you really need to do. You can always take a look at some of the premium tools you might want to use later like the Price Navigator, Magic Mockups, and Instant Collections, but don’t overwhelm yourself with too much too fast.
Step 3: Connecting Gelato and Shopify
This is probably the simplest part of the whole setup. You’re not working with APIs or code, just giving Shopify a direct line to Gelato with a few clicks.
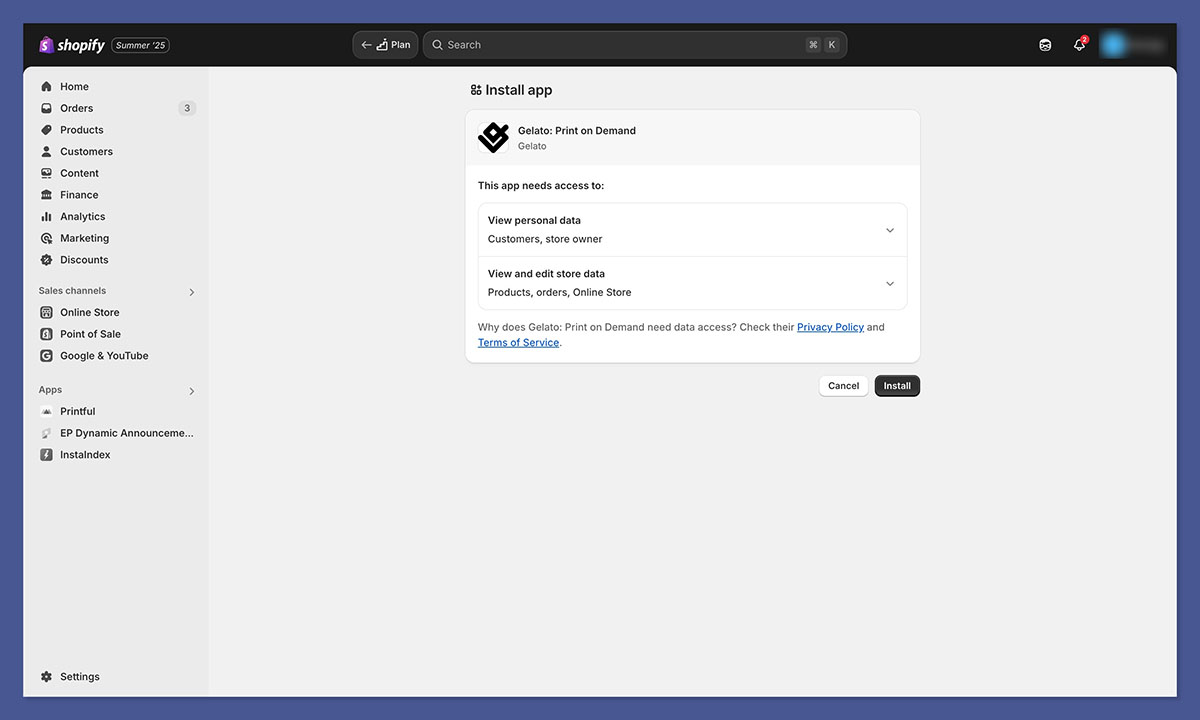
- Log into Shopify, head to the app marketplace and search for Gelato.
- Click Install, then log into your account, and approve the connection
That’s it. After that, the only other thing you really need to do is decide how you want ot manage fulfillment. Most of my stores run with automatic fulfillment. When an order comes in, Shopify passes it straight to Gelato, Gelato prints it, and the tracking syncs back to Shopify. No nudges, no approvals. When you’re running a new brand, avoiding unnecessary admin work is half the battle.
If you prefer to review each order (maybe your designs have personalization or you’re nervous about mistakes) you can switch to manual approval. I keep that on for niche stores where customers submit custom text or dates, just to avoid printing something with a typo.
Another good tip, if you’re migrating from another POD supplier, Gelato does have migration tools to keep your catalog intact. The Velocity Switch feature on Gelato+ is the best, but there are other options if you’re on the free plan that save you from manually copy-pasting.
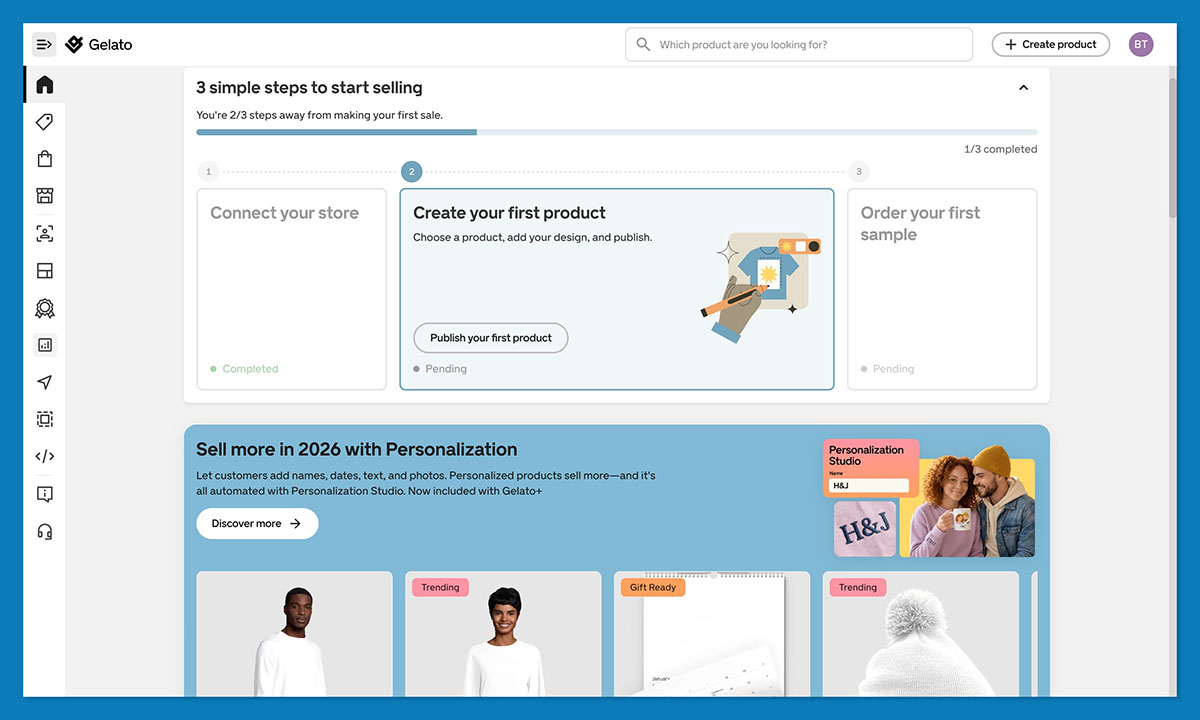
Step 4: Creating Your Product Lines
This is the part everyone gets excited about, all the designs, mockups, and new ideas. It’s also where most new sellers accidentally overbuild and drown themselves in work. I take the opposite approach: start small, start simple, and learn from real buyers.
Pick a handful of products to begin with. I tend to recommend low-effort, high-profit items, like premium posters, t-shirts, and mugs. Once you know what you want to sell.
- Open Gelato from within your Shopify admin
- Click “Stores” then “Create Product”
- Pick the item you want to make and upload a design
- Play around with colors, placements, and sizes
- Use the mockup tools to create some images for your site
- Choose a price for your product
- Publish to both Gelato and Shopify
Easy peasy.
Step 5: Finishing the Product Pages and Store Details
This is the boring part on paper, but it’s still important. After you’ve got your Gelato product in Shopify, you’ll need to:
- Write titles that tell customers exactly what they’re getting: “Minimalist Line Art Poster – Botanical Design” sells better than “Dreamy Nature Print.” People scroll fast; your title needs to anchor them.
- Write descriptions that answer questions: Usually your customers want to know about the material, the design, and anything that makes your item stand out (like personalization options or organic fabrics).
- Tag and group products: Your collections are the way customers navigate. Think themes, moods, gift types, room types, not random buckets like “All Products.”
- Set up Shipping: If you’re not on Shopify’s advanced plan yet, you won’t have live shipping rates. That’s fine, pick flat rates that keep your margins intact and don’t confuse shoppers. Customers hate surprises during checkout more than slightly higher shipping.
It’s really not a lot of work, and if you have more advanced plans, like Gelato+ (for instant collections), and Shopify Advanced (for real-time shipping rates), this part is even easier.
Step 6: Setting Up Product Personalization with Gelato
Not everyone will do this part, but if personalization seems like a good fit for your store, I definitely recommend giving it a try. It’s one of the best ways to guarantee you’ll attract more customers, and sell more products.
Gelato makes the setup really simple. Inside the editor, you choose where the customer can add text, names, dates, or whatever fits your design. Set limits so nobody types a paragraph onto a line intended for a first name. You don’t have to generate print files manually; Gelato does it for you after the order comes in.
My advice is to keep the input fields simple (don’t overwhelm people with too many choices), and actually show off some samples to inspire them on your product page. Quick note, Gelato does charge a small fee for the personalization feature on the basic account, but it’s very easy to ignore, since you’ll be able to charge a premium for personalization anyway. If you’re a Gelato+ subscriber then personalization studio is completely free to use.
Step 7: Run Some Tests
A lot of people treat this as an extra step, rather than an essential one, but that’s always a bad idea. My advice is to order samples of your products every time, no matter how much you trust your provider.
Check the colors, the sharpness, and how the design sits on the material. Sometimes a line that looked fine on your screen shows up softer on fabric. Better to catch that now than after a dozen customers complain.
Pay attention to the fit and feel, ask yourself whether the packaging and delivery speeds are good, and use what you learn to answer questions for your customers in your FAQ before they ask them. You can also take a few high-quality photos for your product pages.
Step 8: How to Market a New Shopify POD Store
Once your store is live, the real work starts. With Shopify, you don’t have a built-in audience, you need to attract the people who are going to love your products. Marketing can be tricky, but you don’t need to overcomplicate it. I’d say:
- Know exactly who you’re selling to: “Anyone who likes art” or “people who wear shirts” isn’t a target audience. Tight niches win: plant lovers, retro gamers, minimalist décor fans, dog breed obsessives. The more specific the niche, the easier it is to create designs that actually resonate, and the cheaper your marketing becomes.
- Fix your product pages before you spend a dollar on ads: Your pages need to answer basic questions fast. Clear photos, clean mockups, simple descriptions, and proof that the item will actually arrive. If this foundation is weak, no amount of traffic will save you. I’ve burned money on ads that had clicks but no purchases because the product page felt unfinished. Don’t repeat that mistake.
- Start with channels that suit visuals: Instagram, TikTok, and Pinterest are ideal for POD because they reward imagery first and explanations second. You don’t need to be an influencer; you just need to show your product in a way that helps people imagine it in their home or on their body.
- Try micro-influencers before you try paid ads: A few creators with small but loyal audiences can outperform a big ad budget. Send them a sample and let them post naturally. I’ve had posts from accounts under 10k followers outperform ads that cost hundreds of dollars.
- Grow your email list early: Even 50 subscribers matter when you’re starting out. Offer a small discount, a personalization idea guide, or something niche-specific. Email is where repeat customers come from, and POD stores survive on repeat customers.
Step 9: Test, Adjust, and Keep What Works
One of the best things about print on demand is that experimentation is pretty much risk-free. You’re not wasting stock if something doesn’t pay off.
Still, it’s a good idea to test one thing at a time. Don’t change your pricing, product collection, and descriptions all at once, or you’ll never be able to figure out what’s making a difference.
Use Gelato and Shopify’s analytics to track things like how many of a certain product customers add to their cart, how many they buy, and how often they get to the checkout and bounce.
Use what you learn as your feedback loop. When a design sells faster than the others, make variations of it. When something gets ignored for weeks, archive it. POD lets you pivot instantly, so use that flexibility.
Also don’t be afraid to get rid of whatever isn’t working. Founders get sentimental about designs that took forever to create. Customers don’t care. If a product doesn’t sell after consistent traffic, cut it loose and replace it with something better.
Step 10: When to Upgrade from Shopify Basic to Advanced
You’ll notice I’ve recommended using the “basic” plans for both Gelato and Shopify here for the most part. They’re really all you need if you’re a beginner. Still, there will probably be a time when you start thinking about upgrading.
If your store is consistently bringing in orders and you want deeper reporting or better control over international checkout, then Shopify’s higher plans start earning their keep. They unlock better analytics and more flexible shipping options. Until you feel limited, stay where you are.
If you’re releasing new designs regularly, the mockup tools, bulk creation features, and discounts save real time and real money. I upgrade when my monthly design output hits a level where the subscription is cheaper than the hours I’d spend creating everything manually.
Also, Gelato’s premium plans do give you discounts and more support that can help you out a lot as you scale, so keep that in mind.
Get Ready to Sell with Shopify and Gelato
Really, building a store with Shopify and Gelato is easy. The only really tough part is making sure it turns out to be a success. Gelato does help out there, with premium tools for scaling brands, and some of the best products and fulfillment services in the business.
Still, it’s up to you to put in the work, making sure your pages look great, include the right information, and connect with the right buyers. You’ll also need to keep investing in marketing strategies (stores don’t grow themselves).
Once you’ve got the basics set up, though, it’s much easier to start making progress. You can begin experimenting, and use the information you gather about what people actually buy to plan your next steps. It’s that simple.
Frequently Asked Questions (FAQs)
Is Gelato free to use?
Yes, Gelato offers a free plan that includes access to the full product catalog, design tools, and integration with Shopify. You only pay for products when customers place orders. Gelato+ is an optional paid subscription that offers product discounts, premium tools, and priority support for growing stores.
How do I connect Gelato to Shopify?
Log into your Shopify admin, go to the app marketplace, search for Gelato, and click Install. You’ll then log into your Gelato account and approve the connection. The entire process takes less than five minutes and requires no coding or API configuration.
How long does Gelato shipping take?
Shipping times vary by destination, but Gelato’s local production model means 90% of orders are printed in the same region as the customer and 90% of orders arrive within 5 days.
What products sell best on Gelato?
High-margin, low-complexity products like premium posters, t-shirts, and mugs tend to perform well for new sellers. Personalized products—where customers can add names, dates, or custom text—generally command higher prices and convert better than generic designs.
Can I sell personalized products with Gelato on Shopify?
Yes. Gelato’s Personalization Studio lets you add customizable fields—like text, names, or dates—directly in the product editor. Customers enter their details at checkout, and Gelato generates the print file automatically.