Now that my store is launched, I have to drive some initial traffic to it. Unfortunately, for a site this new, there won’t be any significant organic traffic in the immediate future, so to get started, I decided to use paid advertising.
I’m using paid advertising for two reasons:
- It will help me validate my niche and start to get an idea of what exactly my customers want
- Hopefully, I can optimize the campaign into a permanent, profitable traffic source that I can keep running
Before starting out, I had to set some expectations for myself. It is very unreasonable to assume that I’ll start making money right away.
In fact, it will probably be a few months before finding the right mix of keywords and ads.
As you may have already read in Dennis Moons’ guest post, the key to a successful Adwords campaign is to have a high Click Through Rate and drive down your cost per click.
Google Ads in 2025: What’s Different?
Setting up my ecommerce PPC campaign this year was way different than before. Google Ads keeps pushing more automation, and manual controls are disappearing fast.
Exact match keywords? Basically useless now—Google keeps expanding what counts as a “match,” so I had to rely heavily on negative keywords to keep my ads relevant.
Bidding? Manual CPC is almost gone, and Smart Bidding is the only real option. Google’s AI decides my bids based on “real-time intent,” but let’s be real—it also means less transparency on where my money’s going.
Another big shift? Tracking is harder than ever. With third-party cookies gone, I had to set up Google Consent Mode v2 and enhanced conversions just to keep my data accurate. If you’re not using first-party data, you’re basically flying blind.
Long story short: Google Ads in 2025 is an AI-driven black box. If you don’t adapt, you’ll burn cash fast.
Deciding how much to spend
Adwords is expensive. There used to be a time where clicks were a couple of cents, but those days are long gone.
You have to expect CPC (cost per click) of at least $1 when you are starting out. It may eat into your margins when you start out, but the goal is to refine your campaign to the point where you won’t be spending that much.
If you spend $1 per click, you can decide how many clicks you want to your store. I started out with a total budget of $50 per day for the first 2 weeks.
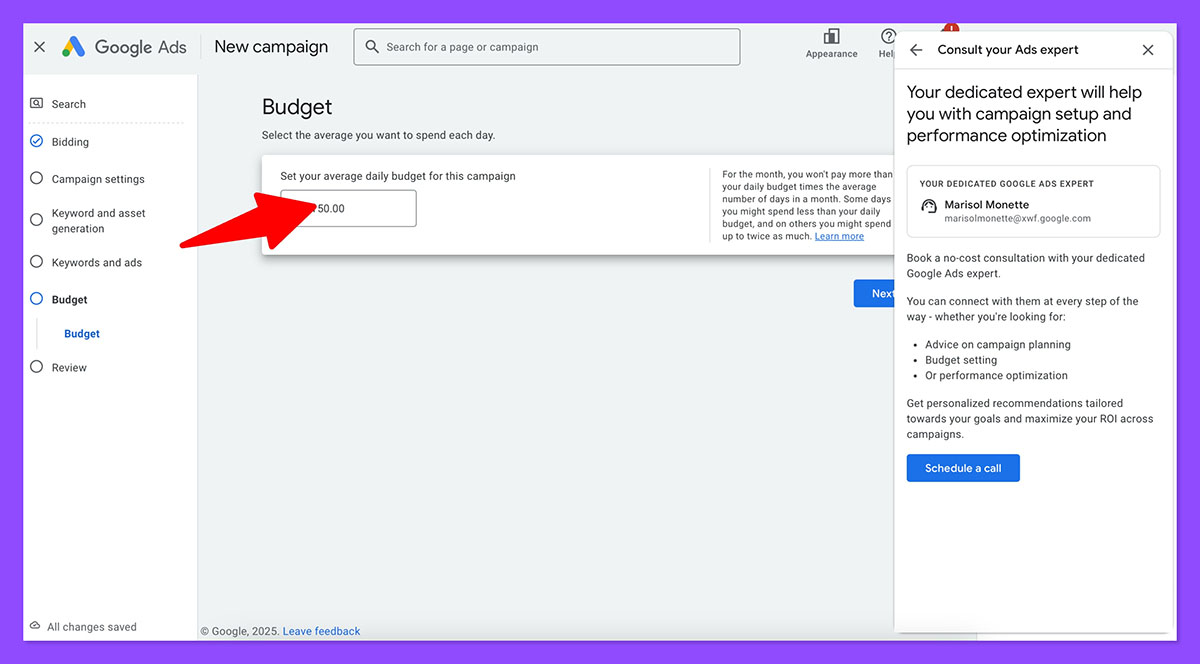
I didn’t actually spend the $50 every day – some days it would be less, but on average, I ended up spending that much.
I had planned to set aside $1500-2000 for trying to get my Adwords campaigns working well. Even if you are an Adwords pro, I think you’d need at least that much to get something going.
If you aren’t willing to spend that much, at least consider spending around $500 – you should hopefully make some sales in the process that will get you some money back, and even if you decide that Adwords isn’t a good fit for your store, the insight you will gain from interacting with your customers and seeing what they really “need” will be well worth it.
Pro tip: It can take some time before you get everything to work. Even with great PPC skills, you start out knowing very little about your customers. That makes it hard to pick the right keywords and write catchy ads.
Running your campaigns for a while with a modest budget also gives you a good idea of the potential and competition in this market.
How many visitors can you get and how much do you have to pay per click?
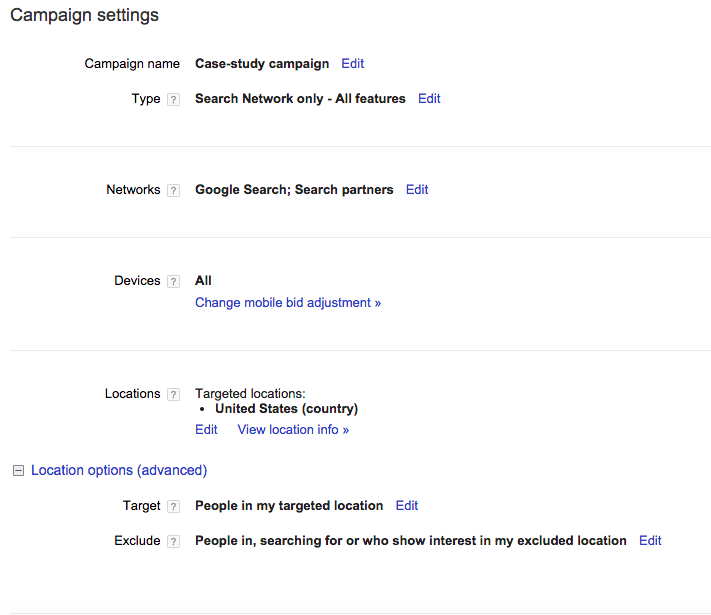
Setting up campaigns
The next step was to set up my campaigns. Now I usually like to have just one campaign, and inside that campaign, I can have as many ad groups as I like.
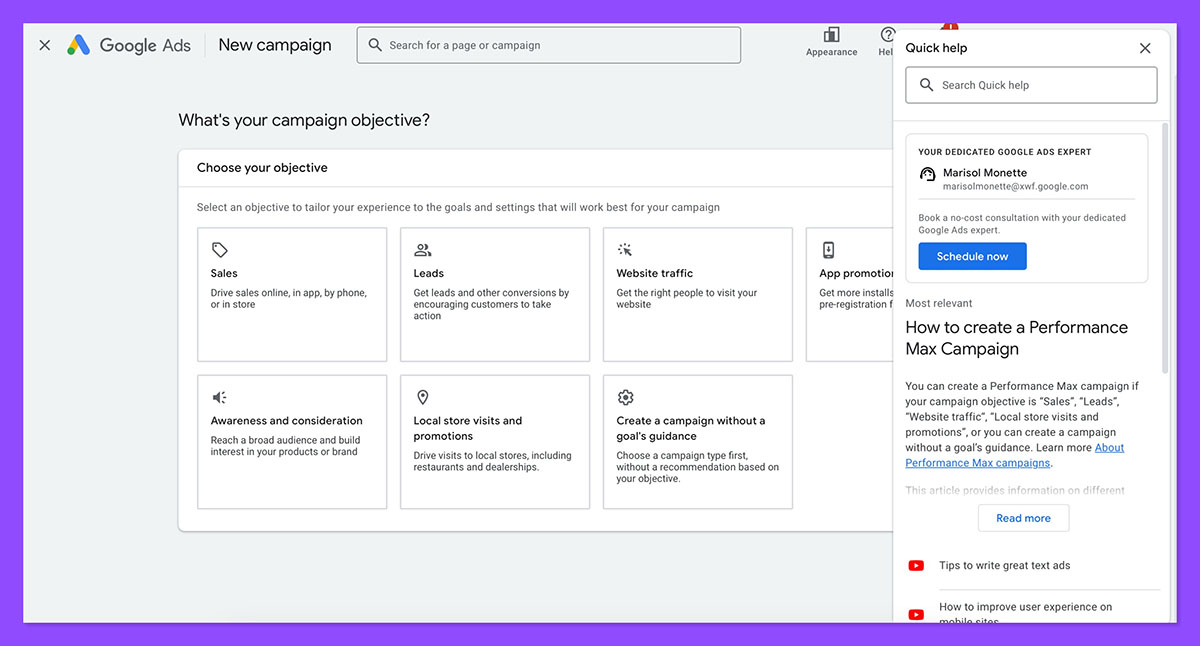
I prefer to do this because I can choose the settings for the campaign(what location to target, ad cycling, bidding strategy), and it will automatically apply to every ad group.
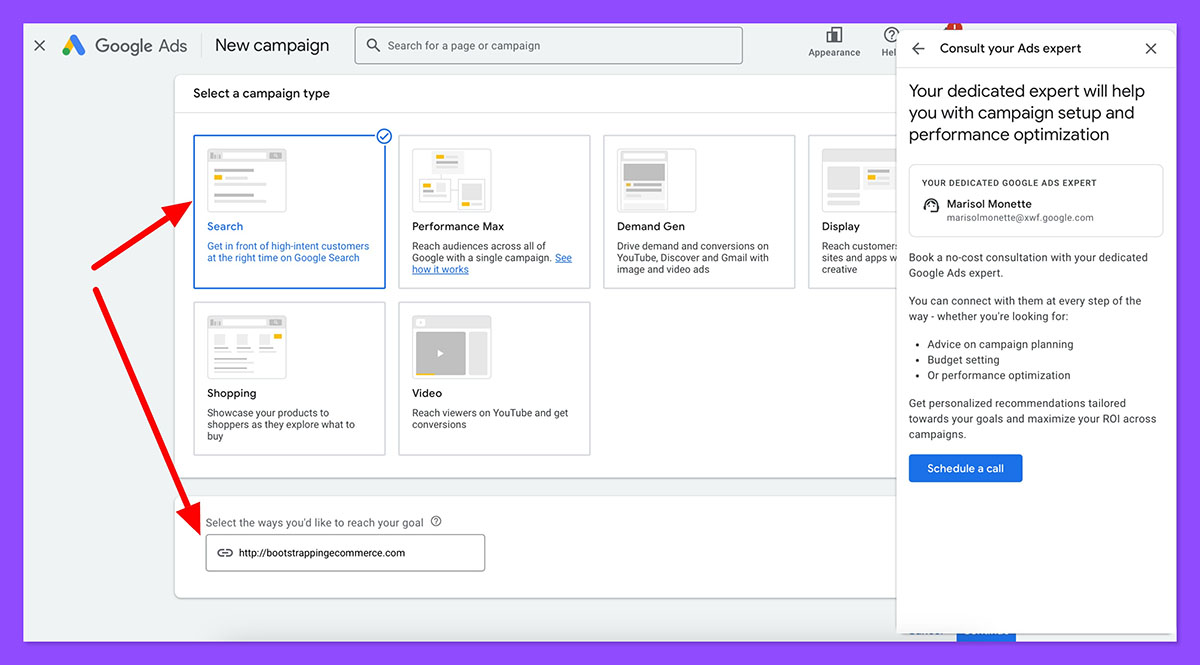
I chose the following options for this campaign:
Location targeting: United States
Ad Cycling: Rotate ads evenly and indefinitely (Google won’t show only high-CTR ads, they’ll show all)
Bidding strategy: Manual bidding
I find it very important to use manual bidding because Google’s optimized bidding can eat through your wallet pretty fast.
They’ll usually give preference to these bids, but when your starting out and still touching up your store, you don’t want to blow a lot of unnecessary cash on ads.
So in the end, I had 3 campaigns:
- One with all my text ads
- One as a Google Shopping campaign
- One for Remarketing
Pro tip: By default your campaigns will also show on mobile devices. If your website (or checkout) performs poorly on mobile, avoid paying for mobile visitors!
Text ads
I created an individual ad group for every set of unique keywords that I had come up with. So assuming I was selling green thingamabobbers, I had ad groups like “green thingamabobber”, “buy green thingamabobbers”, “green thingamabobbers for sale”, and so on.
Each ad group would have only close variations from the original keyword – this helped in crafting relevant ads.
So these were my broader keyword ad groups, and for lack of any other page, I sent these visitors to my home page.
Since these were already pretty broad keywords getting a decent amount of searches per month, I only used exact match and phrase match, no broad match.
The next type of ad group I had was brand names. So I had “Acme thingamabobbers”, “XYZ thingamabobbers”, and so on.
One mistake I made here was to also bid on just the brand keywords without “thingamabobbers” as part of the keyword. I spent a bit of unnecessary money here, and I realized the mistake and removed just the brand keywords.
I had about 6 brand ad groups, and since these were more uncommon, I had exact match, phrase match, and broad match modifier(“+acme +thingamabobber”) which works like broad match, except it looks for other keywords more closely related to the one you set.
Finally, I created ad groups for each and every product I was selling.
I had about 30 products, so I used whatever exact match keywords I could find from the Google Keyword planner, used phrase match on those very keywords, and then added broad match modifiers for those keywords, too, in case I was missing something.
To summarize, I had three types of ad groups:
- Broad, product related keywords(not to be confused with broad match), which all went to the home page
- Slightly more specific brand related keywords, which went to the brand category pages
- Very specific product related keywords, which went to the product pages
Pro tip: You can goup similar keywords together in ad groups and created relevant ads for these groups. This is great and helps to get a better CTR.
I also booked an cal with a Google Ads Expert, which recommended to avoid another pitfall: broad match keywords. By limiting my match types to broad match modified, phrase and exact match I was better able to control for which keywords the ads appeared.
But on some occasions these broad, general advertisements appeared for specific products searches for which I would prefer to have specific ads.
This is not ideal, someone searching for a very specific product would rather click on an advertisement that matches this specific product search.
This is because if you’re targeting the keywords +green +widget, they will also pop up for acme green widget mx234.
If you’ve created a specific ad group for acme green widgets you need to use negative keywords to filter these searches from the main ad group. In this case you can add acme as negative keyword for the general ad group.
Because the total search volume in this niche is pretty high, it is important to avoid paying for irrelevant visitors. If during your (keyword) research you see keywords which are irrelevant for your store, add them as negative keywords.
If you would for example exclude brands or products that you don’t carry, you avoid paying for traffic that is unlikely to convert.
When creating advertisements, be sure also to include ad extensions like sitelinks or callout extensions. These are extra links that will give your advertisements more visibility and a higher CTR.
Shopping Campaigns
The next campaign I set up was a Shopping Campaign. Shopping Campaigns are what used to be product listing ads – these are the product results you see in the top right of the search results page.
With Shopify, setting up product listing ads was very easy. I used the Retail Tower app which makes setting up my feeds ridiculously simple, and submitted those feeds using Google Merchant Center.
Then you hook up your Merchant Center Account to your Adwords account, set up a Shopping Campaign, and that’s pretty much it!
One mistake I made was to run a Shopping Campaign without UPC codes for my products. Adding UPC codes will bring you much more relevant clicks, and once I did add the UPC codes, I saw my click-through rate go up significantly.
Remarketing Campaigns
I am a strong believer in remarketing campaigns, and I like them because they are cheap and they bring back targeted visitors to your website. You have to really be everywhere if you want to make sales.
Setting up remarketing is pretty easy – you need to go to the “Shared Library” tab in your Adwords, and create an audience, and set up remarketing for them.
Here are a couple of guides on how to set up remarketing campaigns:
Now what?
With all my ads set up, it’s time to run them and wait. I don’t expect to start getting orders from the first day – I’ll have to see which keywords are working, which are not, and optimize my ads, too, trying to optimize for the highest performing ads.
It’s not easy, it takes time, it takes money, but I believe that the payoff is there.
I’m really keen on making PPC work for me here because this is still a relatively untapped niche and ads are not overcrowded – yet.
Once I have some initial traction and some reviews, that should be enough social proof to keep me going when the ad space does eventually become overcrowded.